 Wallpaper is a good way to decorate. With all sorts of colors, patterns, and textures offered, it can be a attractive option to paint. Yet, just like paint, wallpaper can become worn and outdated. Though paint permits you to basically spread on a different coat or color, altering wallpaper needs a bit much more effort. When your wallpaper is prepared for a modify, the initially step will be to take away the current paper from the walls.
Wallpaper your back wall of your room-box/dollhouse initially. Take your back wall template (make sure you place lots of markings on your template-which space, which wall, ideal, left back wall, and so forth.) and place it on prime of your wallpaper. It is Extremely vital that you center your wallpaper pattern in the center of your template. Cut 1/4th inch further on each side of the back wall wallpaper. If your paper has a repeating pattern, you will have to reduce out the proper and left wallpaper now (make confident you measure 1/4th inch in on every single side when matching the side paper pattern).
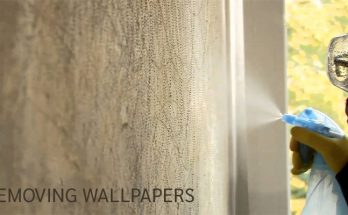
Wallpaper can be removed through perforating and scoring it mechanically. This can be accomplished by utilizing a tool referred to as a paper tiger, a tool that looks like a puck with wheels complete of sharp teeth. The wheels are rolled onto the old wallpaper in a counterclockwise or clockwise action, causing tiny holes on the wallpaper’s surface but leaving the substrate surface undamaged.
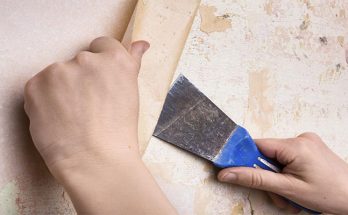
It is feasible to cover over the old paper, while it’s not necessarily a excellent thought, as the moisture in the adhesives can trigger each the old and new wallpaper to peel away from your walls. If you choose to eliminate the old stuff, the function involved will be rewarded with clean walls prepared to be covered with new paper or paint. There are many strategies to go about it.
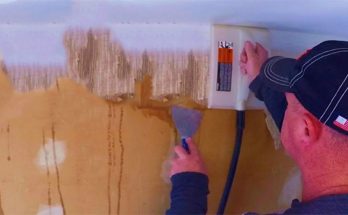
Just after we wrestled all of the paper down I went over the walls with a spray bottle full of half vinegar and half water (not hot, just space temperature) and made use of the rougher scrubby side of a sponge to make certain there wasn’t any glue residue anywhere. For the most component it had all come up with the backing so there wasn’t a great deal to scrub, but a handful of tacky locations had been a lot smoother immediately after this step, so it really is definitely worth adding onto the end of your peeling project.