
 So you’ve got a basement and have decided that it really is time to turn that space into some sort of livable arrangement. Whatever it was that brought you to that choice is surely going to drive you into what type of area you are trying to generate. Irrespective of whether it really is a exercise room, a bedroom or possibly a new entertaining space that you want to use, you’re going to have to at some point think about the flooring that your going to lay down to make that space useable.
Very first let’s get started off with what is a laminate floor. Generally, laminate flooring is not wood. In truth, it doesn’t even truly have any wood pieces, additional like a number of layers of a plastic resin. Then making use of some really higher stress, these resin layers are compressed to form a higher fiberboard. Then, they apply a melamine backing and location a printed pattern on the surface and, walla, you have laminate flooring These printed patterns come in numerous additional styles other than wood, they can come in flagstone, marble, tile, fundamentally anything picturesque. But the woods are surely predominate.
The steel operate is total, I installed a new Tongue Jack, insulation and subfloor has been installed…..Photographs to come. Headed to Lowes for vinyl stick on tiles and quarter round trim moulding. I have to clean the roof genuine nicely with Dicor EPDM cleaner activator and coat all seams with Dicor EPDM rubber roof sealer, then ultimately I will clean the entire camper and wax it.
Holes for heating registers and such will have to be cut. Take away the register cover initially, and reduce the hole in the tile either applying cautious measurements or by sticking the entire tile in place and cutting via it into the register hole. The method requiring measurements is preferable as if the tile is laid initially and the knife slips and damages a tile already in place it will be complicated to take away, even though if the measurements are inaccurate a single tile and a handful of minutes are all that is lost. If productive, although, the second system is far a lot easier.
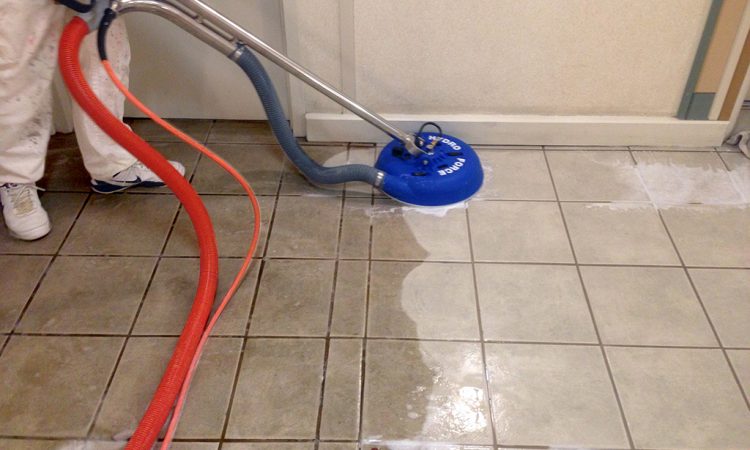
Soon after you lay your tile, permit the adhesive time to remedy, and clean any excess adhesive with a sharp tool such as a razor blade. It is essential to make confident that the tile adhesive has completely cured and hardened, and that every tile is perfectly in place just before it is prepared to grout. Clean the joints that are to be grouted quite well, and you will be ready to move on to the subsequent step. Also, study the directions for your grout, as often you must moisten the grout joints ahead of the grout is applied.