
A well-built and secure privacy fence gate can add functionality, aesthetics, and privacy to your outdoor space. If you’re considering installing a DIY privacy fence gate, there are a few important tips to ensure a successful and long-lasting project. With proper planning and the right tools, you can create a gate that enhances the security and privacy of your property.
1. Measure and Plan Carefully:
Before starting any installation, take accurate measurements of the area where the gate will be installed. Consider factors such as the width of the gate, the height of the fence, and the swing direction of the gate. Planning ahead will help determine the amount of materials needed and ensure a smooth installation process.
2. Select the Right Materials:
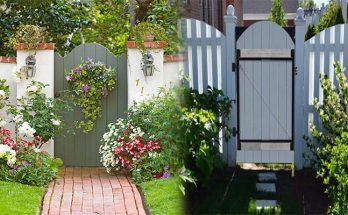
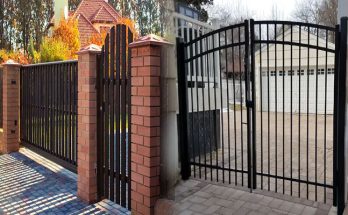
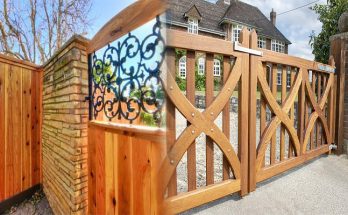
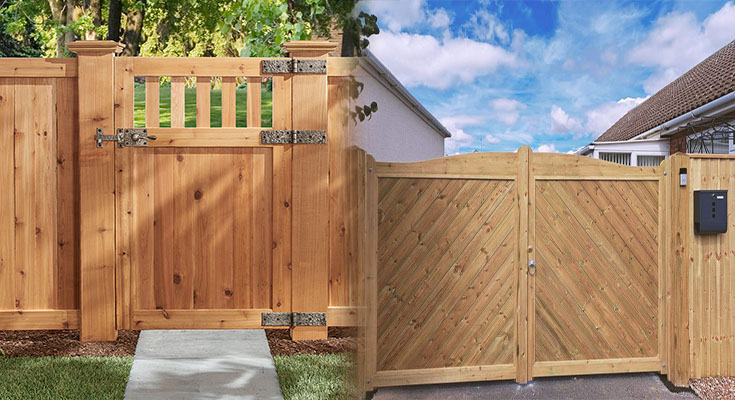
Choose high-quality materials that are durable and weather-resistant for your privacy fence gate. Common options include wood, vinyl, or metal. Consider the style of your existing fence and select materials that match or complement it. Additionally, invest in sturdy hinges and a reliable latch mechanism for proper functionality.
3. Prepare the Ground:
Ensure that the ground is level and free from any obstacles that might obstruct the gate’s movement. Remove any vegetation, rocks, or debris in the area. If needed, use a level and a shovel to make any necessary adjustments to the ground surface.
4. Dig and Set the Gate Posts:
Dig holes for the gate posts according to the gate width and the recommended depth for your chosen materials. Generally, posts should be set at least one-third of their length into the ground. Use a level to ensure the posts are straight and plumb, and then fill the holes with concrete for stability and durability.
5. Assemble the Gate:
Follow the manufacturer’s instructions or your own design to assemble the gate. Measure and cut the necessary components according to your planned dimensions. Make sure the gate is square and level before attaching hinges and latch hardware. Use appropriate screws or nails that are suitable for your chosen materials.
6. Install Hinges and Latch Mechanism:
Attach the hinges to the gate and align them with the gate posts. Ensure that the hinges are strong enough to support the weight of the gate. Install a latch mechanism that provides security and ease of use. Check that the gate swings freely and locks securely.
7. Finishing Touches:
Apply a protective finish, such as paint or stain, to your gate and posts to shield them from the elements. This will help extend the life of your privacy fence gate. Regular maintenance, such as cleaning and resealing, will also help keep it looking great and functioning properly for years to come.
8. Safety Considerations:
When installing a privacy fence gate, consider safety measures such as childproofing or installing self-closing mechanisms to prevent accidental openings. Also, check local building codes and neighborhood regulations to ensure compliance with height and setback requirements.
By following these DIY privacy fence gate installation tips, you can create a secure and private outdoor space for your home. Remember to prioritize safety, accuracy in measurements, and the use of quality materials. With a little effort and attention to detail, you’ll be rewarded with a gate that adds both functionality and beauty to your property. Enjoy your newfound privacy!