
 Hey, y’all! So, I have a confession. I am a slow learner from time to time. I generally think I know what I’m doing, but I genuinely don’t. Winging it isn’t constantly the most effective option. Ahem. I’ve lately removed the wallpaper from paneling in my Memaw’s kitchen beginning with the area for my drop space I remember when my parents put up the wallpaper lots of years ago. It really is crazy how time flies.
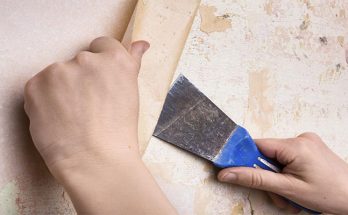
It is frustrating trying to take away old stickers and their residue from several surfaces and things. No matter if you discover stickers on your walls, value tags on dinnerware or labels on your windows, you probably want them gone. Even if the stickers have been on these surfaces for years, they can nevertheless be removed. It is critical to not only get rid of the paper part of the sticker, but the residue as properly.
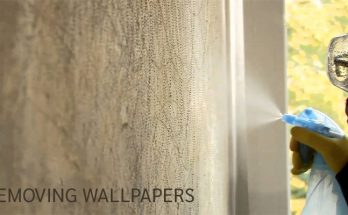
Prepare DIF answer by mixing contents of 22 oz. bottle with two gallons hot tap water in ordinary garden sprayer. (From gallon size DIF measure three cups per 2 gallons.) If sprayer is not out there, apply DIF water resolution with a sponge from a bucket. Cover floor with newspapers or drop cloths. Defend carpeted regions with waterproof drop cloths.
The wall really should feel good and smooth and you should really not be capable to feel a distinction in the level of the wall. If you really feel a hump you require to sand down. If you feel a dip you want to fill with one more application of sheet rock compound. When you are happy with the way it feels and appears you are prepared to finish with a sealer/primer. I generally use Kilz brand primer for the reason that it has constantly accomplished me a very good job and I have been applying it for more than twenty years. There are other primer/sealers on the market place but Kilz is my go to item.
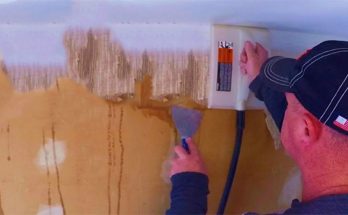
Sand with a fine sand paper on a sanding block. Then mix far more sheet rock compound and add an additional thin layer of the mud to fill deep regions and do the similar as you did in the initially step. Apply a thin coat on every little thing and wait for it to dry. The sanding need to only be performed to the point where the new mud is level with the current walls Do not sand to deep. Run your hands more than the places you have worked to really feel for imperfections and also visually inspect your operate.